

6 Simple Tips to Boost Your Interior Design Photography Skills

The first rule of photography is that there are no rules! It is an expressive art after all. However, there are guidelines you can follow. Preferences differ from person to person, so someone might love clear and bright shots, while someone else would be drawn to a moody and dark atmosphere. What you plan to use your photos for also matters. Especially when it comes to interior design photography. Are you trying to sell your home? Showcase your talent? Or is a work of art your desire.
Whatever your end goal, here are several simple tips that can boost your interior design photography game!
6 Tips to Boost Your Interior Design Photography
Take All the Advantage You Can of Natural Light
Too much artificial lighting can ruin an interior shot since light bulbs cast shadows and can change the appearance of colors. Our naked eye can interpret a yellow color cast of an incandescent bulb or greyish-green of the fluorescent one, but this is something the camera won’t catch. Even on a rainy day, natural light coming through the windows will do more justice to the interior than any artificial light. Also, make sure you turn off the flash as it can alter the natural direction of natural light.
As much as it’s highly recommended to shoot outdoors on a bright, sunny day, it’s actually the opposite for indoor sessions. The bright natural light shining through the windows will create a very sharp contrast and the interior will appear much darker. So, the best way to go is to do it on an overcast day as the clouds will muffle natural light creating soft shadows inside a house.

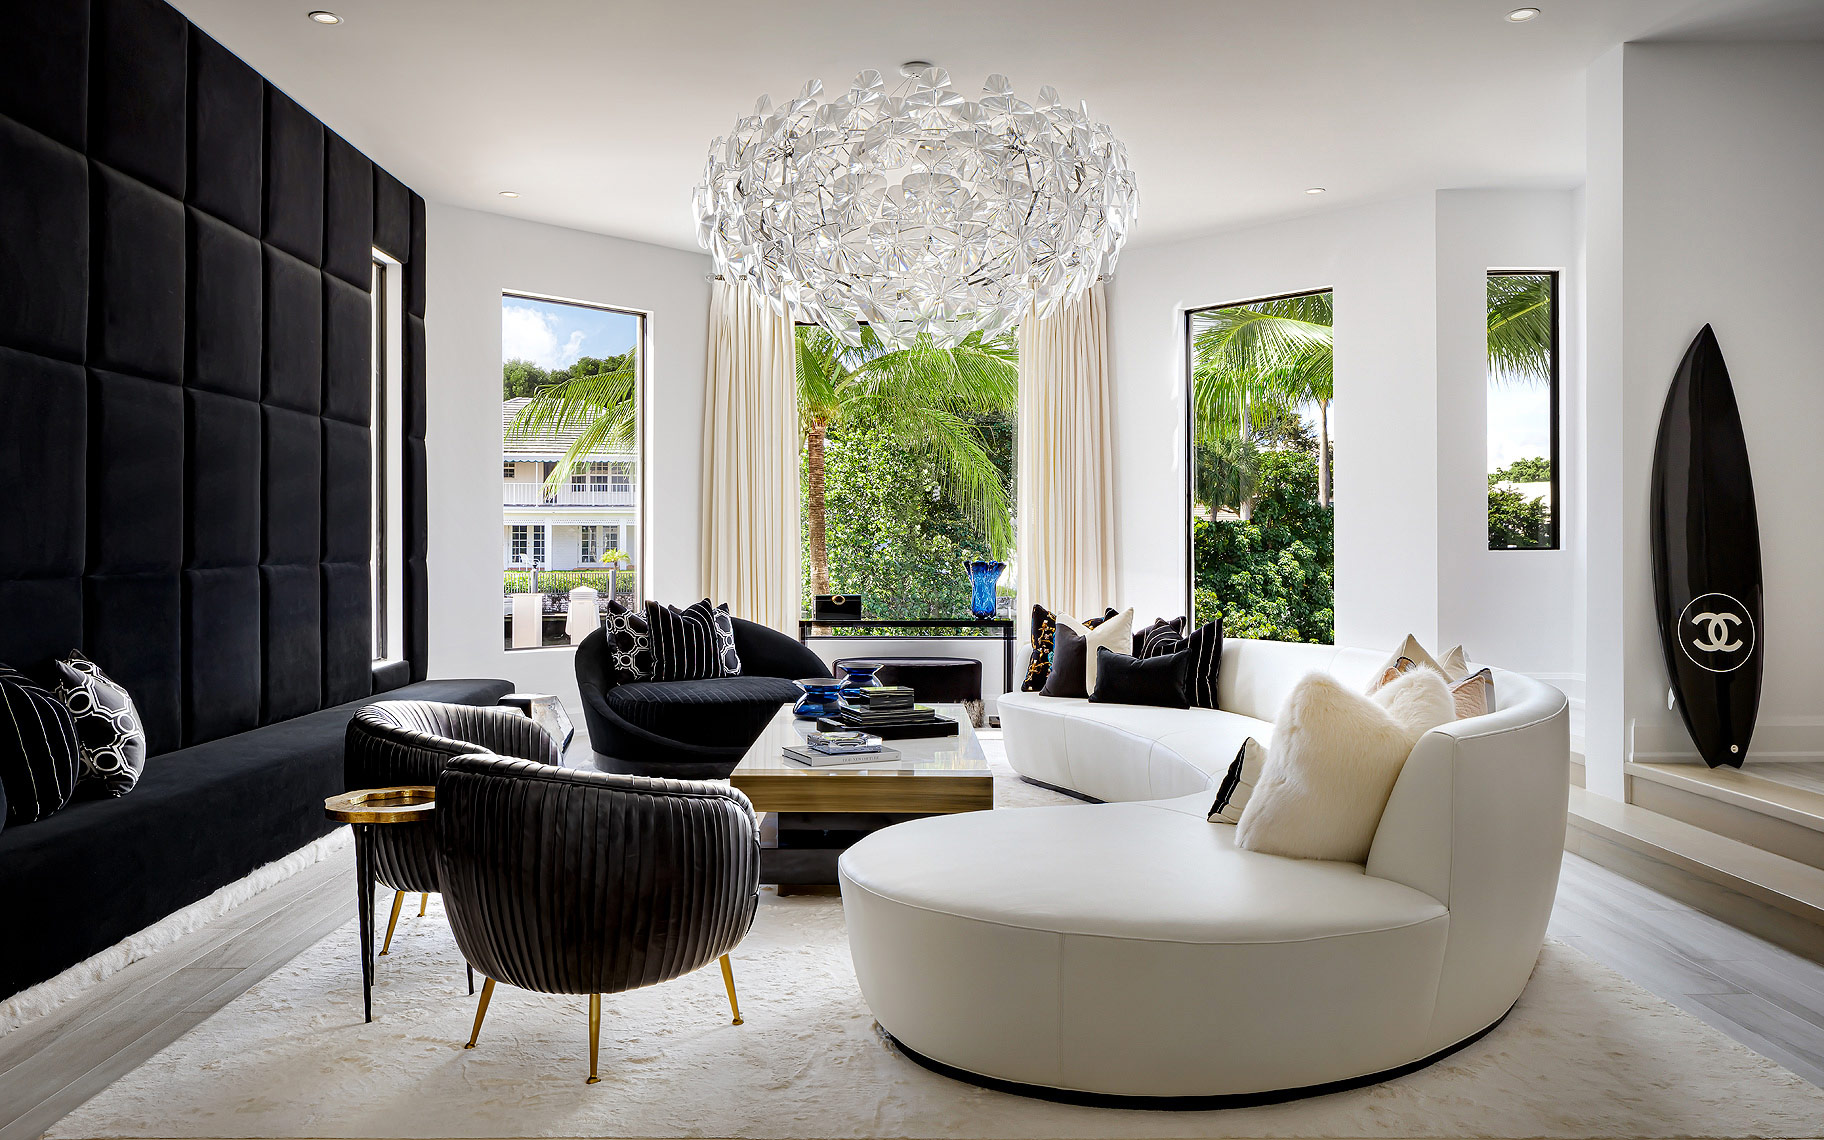
Always Stage the Scene
The best interior photos are the ones that have been carefully staged and styled. Firstly, you need to clear out the clutter removing anything that is not decorative and flattering. You can also reposition accessories and rearrange the furniture if it will help create a better balance. Besides the lighting, possibly the most difficult part of interior photography is the lack of space. When you move or remove furniture, you have the opportunity to create a perfect shot.
According to a current master’s degree in photography, professionals in this field have to be proactive and effective, learn how to interpret and manipulate the world around them, and be able to redefine and reposition both themselves and the subject of their art. So, if that means altering your surroundings to benefit your photos then that’s what needs to be done.


More to Love:
27 of the Best Interior Photographers: Capturing Beautiful Interiors Around the World
Stay In Line and Keep Them Straight
If you need to do a series of photos in one interior, try to stay in line and shoot your pics from the same height. This will add more balance to the space, and it’ll make it easier for anyone looking at pictures later to follow. Otherwise, the beholder might feel like they are jumping up and down through the interior. This can be tiring and annoying, so they might quickly lose interest to keep looking.
Furthermore, keep your lines straight – your verticals should stay vertical, and horizontals horizontal. In reality, our brains will compute that even if we’re seeing something from an angled view the object such as a door is still vertical, but the camera can’t do that.

Use a Tripod
Using a tripod can help you when trying to keep your lines straight, particularly with the addition of a tripod head with bubble levels. With tricky light conditions indoors, it gets quite challenging to shoot handheld pictures. This is where the tripod is a lifesaver! It will help you create sharp images and eliminate any issues you might have with shutter speed. A sturdy tripod with high-quality bubble levels is one of the best investments you can make in photography.
Get Closer
When shooting interior photos, you do need to shoot the overviews, but you mustn’t forget about close-ups and vignettes. These will help you capture the vibe and atmosphere of the space. Play with the depth of the picture – by blurring the background, any object close up will look magnificent.

Go Easy With a Wide-Angle Lens
A wide-angle lens is mandatory in interior photography, but many photographers tend to overdo it and use it too broadly. Keeping it somewhere in the range from 13-14mm on a crop camera to about 22-24 mm won’t allow you to capture an entire room, but it will display it in the most natural way without any distortions. And, if you need to make a change, simply shoot it from another angle!

Wrapping Up
Following the tips listed here, taking stylish and flashy interior photographs isn’t out of reach! Use these concepts as your starting point and as you practice, keep adding layers of precision and depth. In time, your interior design photography skills will be spot on.
About the Author
Jennifer Hahn Masterson is a lifestyle blogger and senior content strategist at Spread the Word Solutions, having a keen interest in a wide array of topics related to design, fashion, and travel. In her leisure time, she likes to immerse herself in a good book and try to satisfy her perpetual wanderlust. You can check her out on Twitter.


