SUBSCRIBE


Black Mold at Home: A Design-Minded, Health-First Removal and Prevention Guide
Why Black Mold Shows Up In Beautiful Homes
Black mold has a talent for appearing where you least want it: the grout line that was spotless last month, the silicone bead you paid a contractor to redo, the corner of a bedroom that always feels a little cooler than the rest. It is not a “messy house” problem. It is a moisture-and-airflow problem, and even the most thoughtfully designed spaces can accidentally create the perfect conditions for spores to settle and spread.
Mold thrives when three things overlap: dampness, something to feed on (dust, soap residue, wallpaper paste, paint binders), and still air. Bathrooms and kitchens are obvious hotspots, but so are north-facing rooms, homes with heavy drapery, tightly sealed windows, and those Instagram-worthy layouts where furniture floats a few centimeters from an exterior wall. If that wall runs cold, condensation can form silently behind the sofa until the first dark freckles appear.
Spot It Early: The Subtle Signs People Miss
Not all mold announces itself with dramatic black patches. Sometimes it starts as a peppery scatter along caulk, a faint shadowing at the ceiling line, or a persistent “damp towel” smell that lingers even after laundry day. If a mirror stays fogged long after a shower, or you keep wiping down windows in the morning, you are seeing the moisture budget of the room overflow.
Pay attention to patterns. Mold that returns in the same spot after cleaning usually signals an underlying issue like condensation, a small leak, or an extractor fan that is underpowered for the room’s size. A quick mental checklist helps: Where is the water coming from? How long does the surface stay wet? What is stopping the room from drying out?
How to Remove Black Mold Safely, Without Turning It Into a Bigger Problem
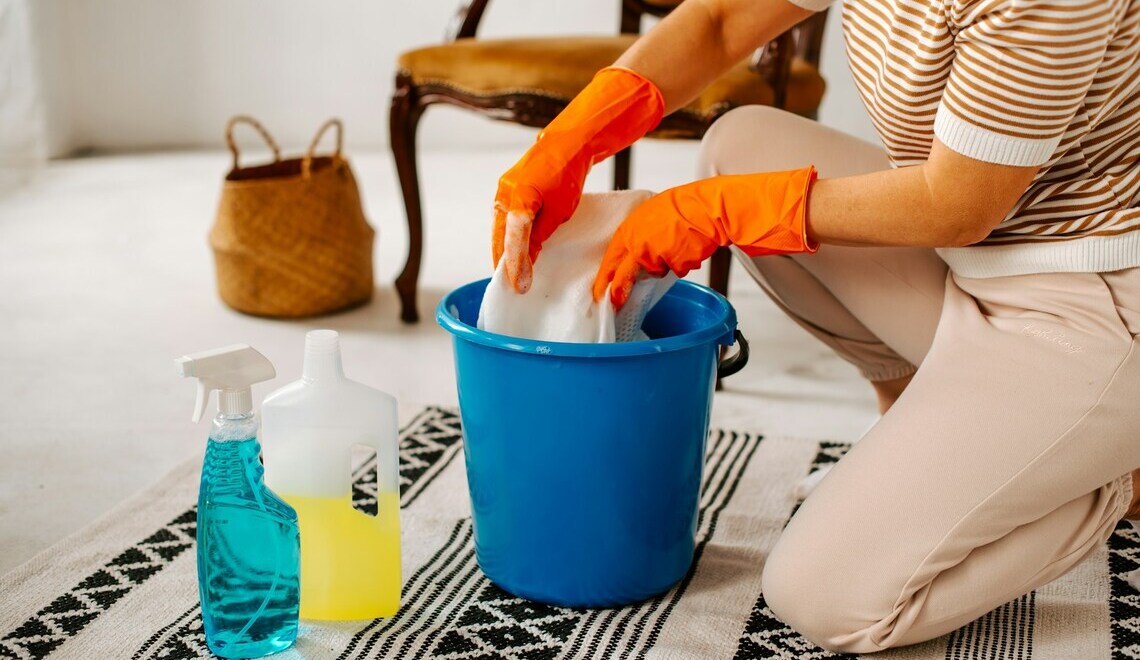
Before you clean, think like a careful editor: reduce the chaos, control the spread, then tackle the core. Open a window if you have one, and consider keeping the door closed to avoid drifting spores. Wear gloves, and if you are sensitive to allergens, a mask is a sensible upgrade. The goal is to remove growth without scrubbing so aggressively that you aerosolize it.
There are a lot of methods discussed online, but not every approach suits every surface. Porous materials like untreated plaster, wallpaper, and some paints can hold staining and spores beneath the top layer. Non-porous surfaces like glazed tiles and many sealed countertops are typically easier to restore. If you want a step-by-step reference point for how to get rid of black mold, it helps to compare techniques based on where the mold is living, not just what looks most satisfying in a before-and-after photo.
Bathroom Silicone and Grout: Where Mold Loves to Camp
Silicone seals and grout sit at the intersection of warmth, water, and residue. Start by rinsing the area to remove surface soap film, then apply your chosen cleaner and allow proper dwell time so it can work while you do something else. Afterward, wipe or rinse thoroughly and dry the area with a cloth. If the silicone is deeply stained and keeps re-darkening, the mold may be embedded, and replacement can be the cleanest long-term fix.
Painted Walls and Ceilings: Clean Gently, Then Judge Honestly
With painted surfaces, aggressive scrubbing can damage the finish and create a patchy sheen. Use a soft cloth or sponge and avoid saturating the wall. If discoloration persists, it may be staining rather than active growth, or it may indicate moisture trapped behind paint. In those cases, cleaning alone is like repainting over a water stain without fixing the leak: it looks better until it doesn’t.
Soft Furnishings and Hidden Corners: The “Quiet Spread” Zones
If mold appears on fabric, carpet edges, or the back of curtains, treat it as a signal to check humidity and airflow. Wash what can be washed according to care labels, and dry thoroughly. For items that smell musty even after cleaning, it can be hard to fully restore them, especially if the room continues to run damp.

DIY Ingredients: What They Can Do, and Where They Fall Short
You will see baking soda, vinegar, bleach, detergents, and ammonia mentioned often. Some of these can lift visible staining on hard surfaces, and some can disinfect, but they are not interchangeable. Bleach, for instance, can discolor materials and may not penetrate porous surfaces effectively. Mixing products is also risky, especially anything involving bleach and ammonia or acids, which can create harmful fumes.
If you like the idea of DIY for small spots, keep it simple: use one method at a time, ventilate well, rinse thoroughly, and dry completely. The drying step is not optional. Mold is less impressed by your cleaning routine than by your home’s ability to stay dry.
Preventing Black Mold: The Design-Forward Habits That Actually Work
Prevention is where a home starts to feel effortless again. The best routines are quiet and repeatable, not heroic weekend clean-ups. Think of it as styling your indoor climate the way you style a room: balance, airflow, and a few strategic choices that make everything easier to maintain.
Ventilation That Fits Real Life
Extractor fans should run long enough to clear moisture, not just while the light is on. If your bathroom mirror stays fogged, extend the fan time or crack a window. In kitchens, use the hood even for “quick” boiling, because steam is still steam. If you rely on trickle vents, keep them open and dust-free so they can do their job.
Heat, Humidity, and the Furniture Gap Nobody Talks About
Consistent warmth helps reduce condensation, especially on exterior walls. You do not need tropical temperatures, but big swings can invite moisture to settle. Leave a small gap between large furniture and cold walls so air can circulate. It is an invisible change that can make the difference between a crisp corner and a recurring patch of mold.
Materials and Finishes That Are Easier to Live With
If you are renovating, prioritize surfaces that tolerate moisture: properly sealed grout, quality paint suited to kitchens and baths, and well-detailed silicone lines. In a home with frequent showers or limited daylight, these choices are not just practical, they preserve the look of the space month after month.
When Cleaning Is Not Enough: Signs It’s Time to Investigate Deeper
If mold returns quickly, spreads across multiple rooms, or appears alongside bubbling paint, crumbling plaster, or a persistently damp smell, look for a source. Common culprits include leaks behind walls, rising damp, blocked gutters, and condensation from poor insulation. A small plumbing drip inside a vanity can create a surprisingly big mold problem because it stays hidden and continuously feeds moisture into the same area.
Also take health seriously. If anyone in the household has asthma, allergies, or unexplained irritation that flares at home, it is worth acting sooner rather than later. A home should feel like relief when you walk in the door, not like you need to take a deeper breath outside.
A Simple Weekly Rhythm to Keep Rooms Mold-Resistant
Once you have cleaned and corrected the obvious moisture issues, maintenance can be light. Wipe down wet zones after showers, especially the silicone edge and tile corners. Launder bathmats regularly and let towels dry fully rather than piling them damp. Check windows for morning condensation and address it with ventilation, steady heating, and a quick wipe if needed.
Most importantly, trust the early cues: the first musty note in the air, the corner that never quite dries, the sealant that shifts from bright to shadowy. Catching black mold at that stage keeps your home healthier and preserves the calm, curated feel you worked hard to create.
More to Love!
The Home Reset: Why a Fresh Space Changes More Than the Rooms
5 Ways to Clean Your House For a More Loving Environment